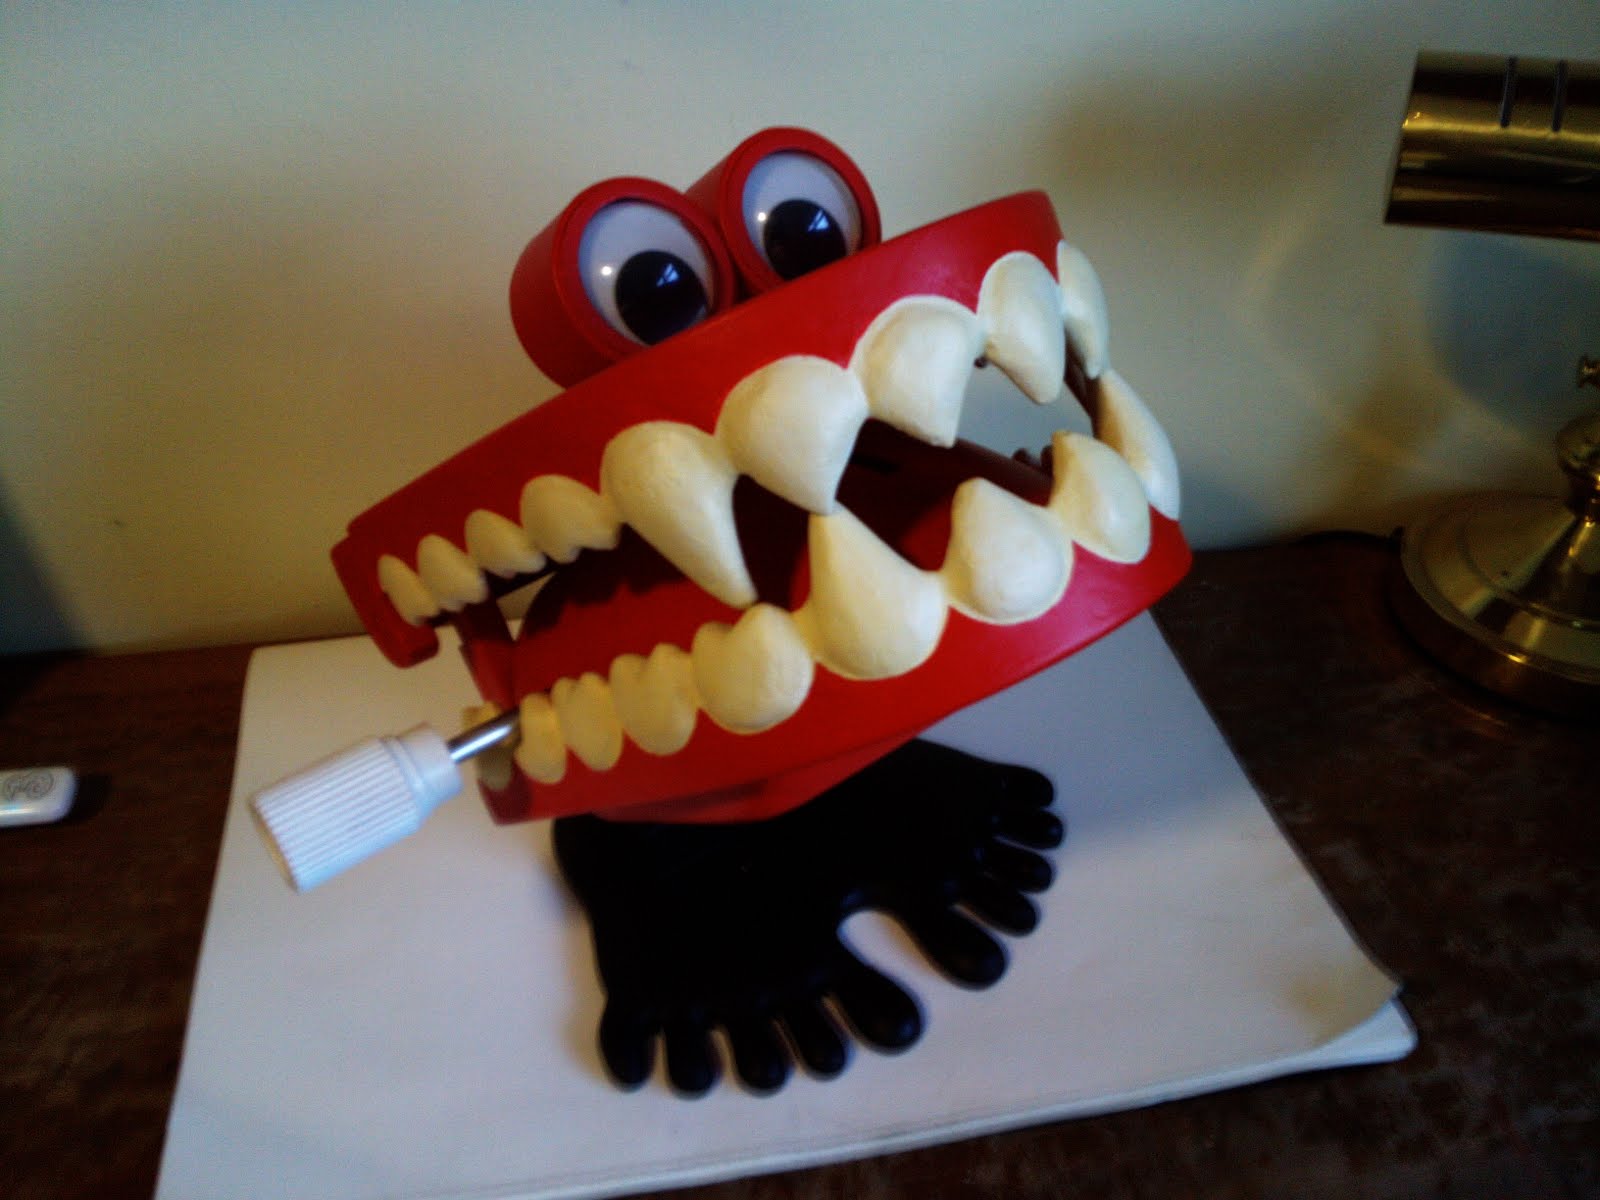
These wind-up chattering teeth I found are about 5cm tall, (x6), I will be replicating them to about 30cm tall, about 28cm wide. Looking into materials straight away... probably wood (MDF) for the body and feet, metal legs, plastic eyes, foam tongue, teeth?-moulding and casting or super sculpey or styrofoam?? Lots to think about! Unfortunately I don't have the time to make it clockwork but I may be able to have a hinge on the mouth still.
Our box (my group) is going to be in the form of a desk/kitchen drawer because all out toys are like the random crap that would be at the back of the draw somewhere.
First I must measure every part of the toy and upscale it by 6, I need some digital verniers to measure with (from Maplins) and some technical drawings.


 Just need an all over gloss coat an we are DONE for xmas. can someone hand me a mince pie?

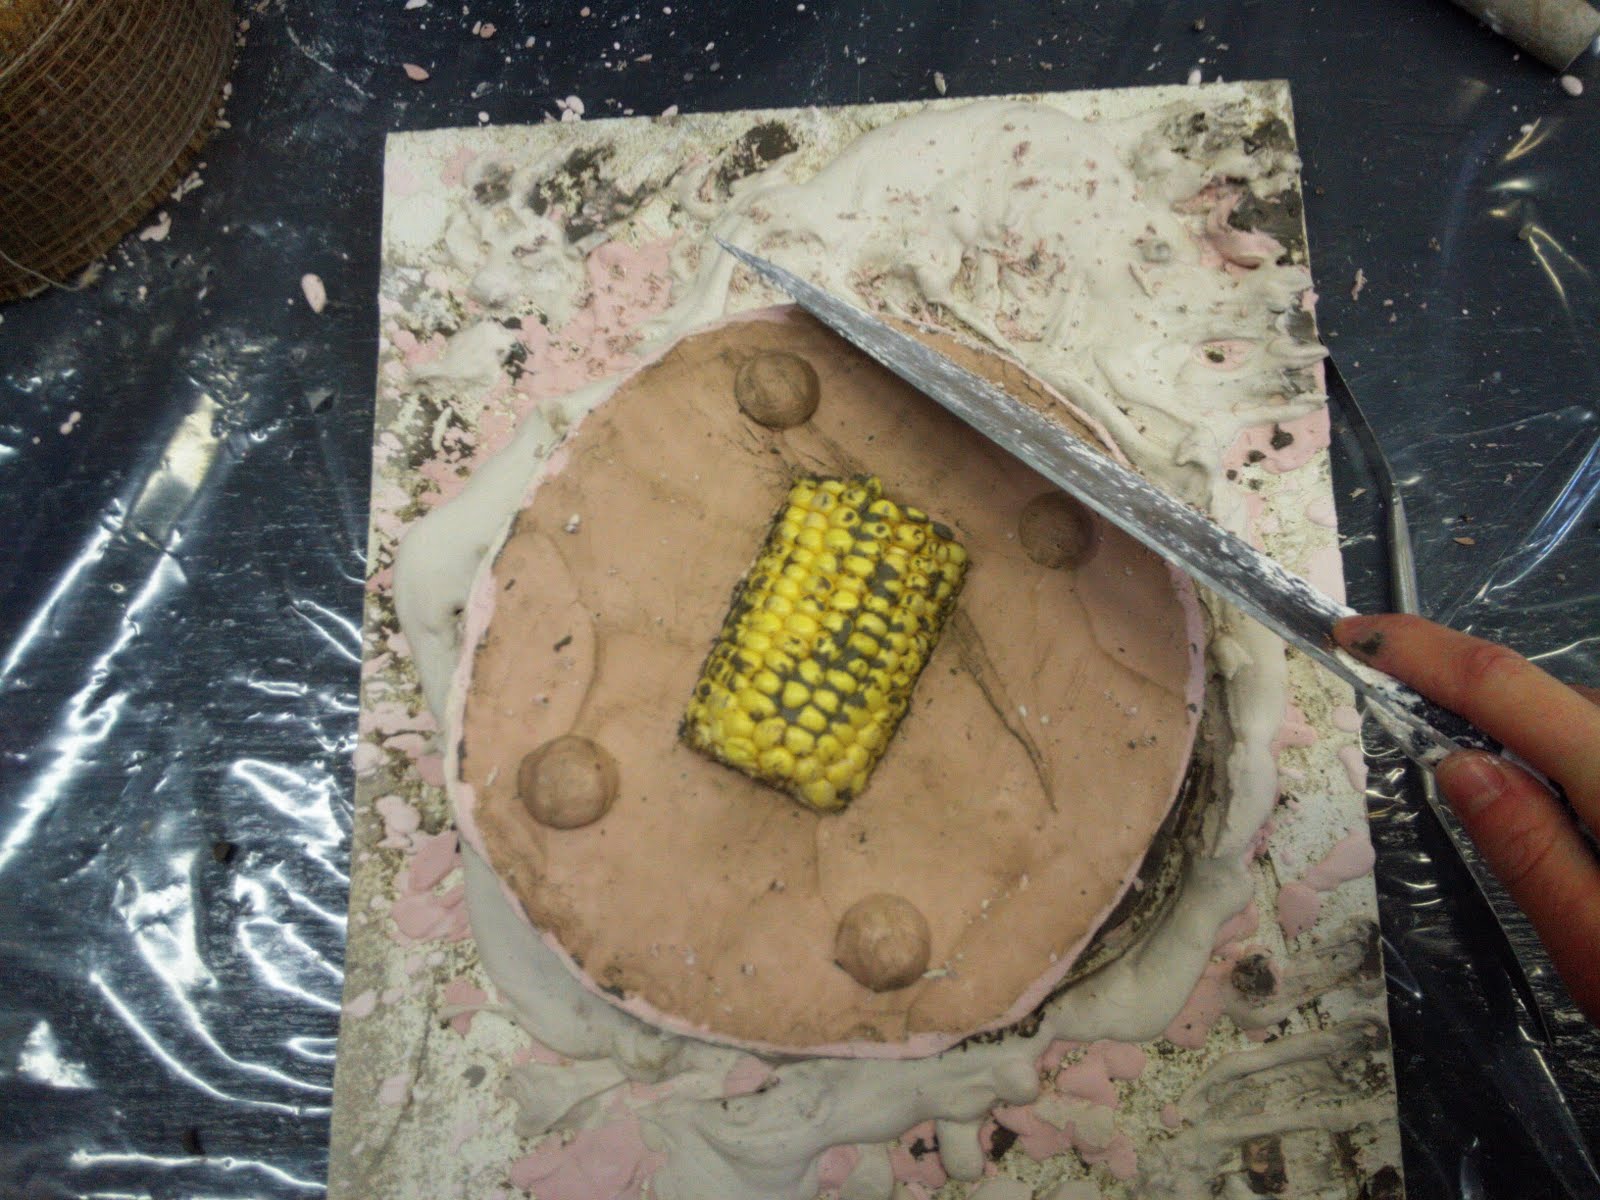
 Vacu formed the tongue, made the handle ou of chemiwood on the Lathe-the wood spins while a blade controlled and angled by yourself cuts away at it.

 Very satisfied with todays work, cut metal legs out, sanded the feet more with a 'polishing shoes' action. Poked the hacksaw around a bit and drilled some more holes. I am making this up as I go along.